Themes
- Creativity
- Divergent Thinking
- Plastic Arts
Objectives
- The main objective of the sequence of activities is the research of new techniques, to get in touch with illogical proposals in order to stimulate divergent thinking.
- To develop creativity
- To find new ways of doing, new ways of thinking.
- To improve observation
- To improve visual memory
- To value one’s own spontaneity
- To develop creative intuition
- To create new perceptions
- To learn new illustration techniques
- To connect with drawing emotionally
Duration and Planning
- 90 minutes : Creative Technique Machine
- 90 minutes : Drawing from Memory
Materials*
- White continous paper
- Cardboard
- A3 White Paper
- Toilet Papedr
- Fabrics
- Linen
- Various materials ( glass, shoe, wood in different shapes and sizes, absorbent paper, platic paper etc. )
- 250 ml of red,black, yellow, blue and white acrylic paint
- 250 ml of black ink
- 1 box of Marley Waxes
- 1 bottle of 250 ml of white glue
- 1 bottle of mercuchrome
- 1 box of charcoal
- 100 grams of soil, sand etc.
- 1 bar of soap
- 1 bar of clay
- 1 brush
- 1 spatula
- 1 pen
- 1 fork
- 1 spoon
- 1 syringe
- 1 toothbrush
- 1 rag
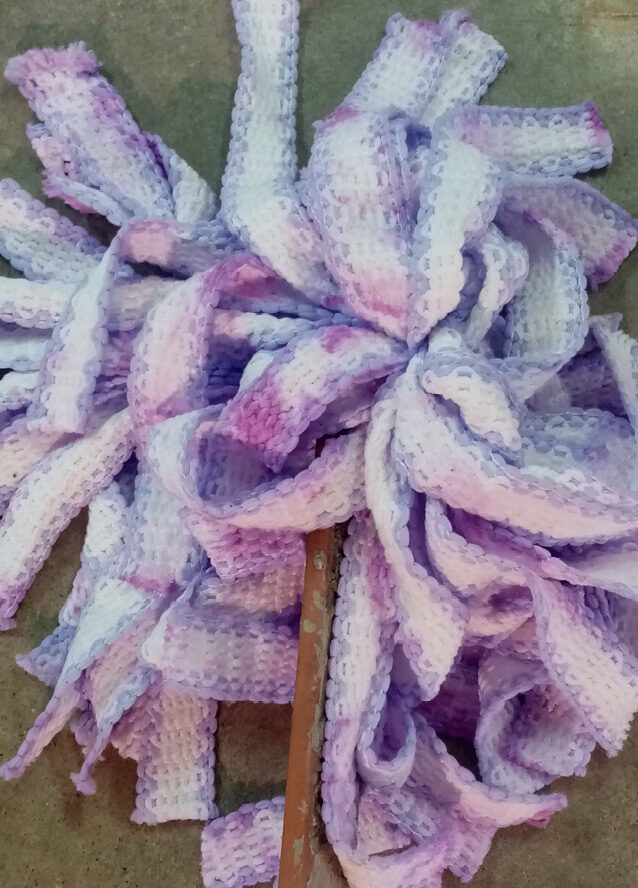
- 1 mop
- 1 sweeping brush
- 1 duster
- Balls of sponges in different sizes
That is an excessive list of materials and it can be adopted to your needs and your participants.
Recommended Method
Preparation Phase :
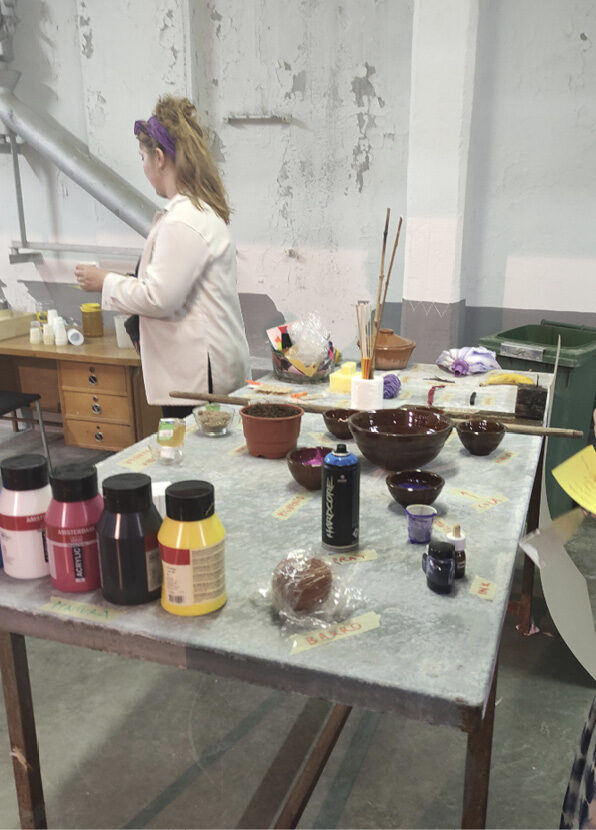
The room must be large, with capacity for 25 people who can draw easily. At one end of the room will be the materials table, which will have to be rearranged at the end of the first part by an extra person from the facilitator. The rest of the room will be a large space, where there could be a few tables to use, and as much as possible, avoid repetitive furniture and spaces.
The following materials are left in the table for the participants :
Masking tape (x10), scissors (x5), rags, Walnut ink (1 liter x 5 persons), bleach (1 liter), 3 quality paintbrushes per participant small, medium and large size.
100 disposable cups, 1 notebook of 200 gr A5 paper per participant, 1 pad (approx. 8 sheets of paper) A3 of watercolor 200 gr per participant, 1 black ink pen per participant.


Implementation Phase :
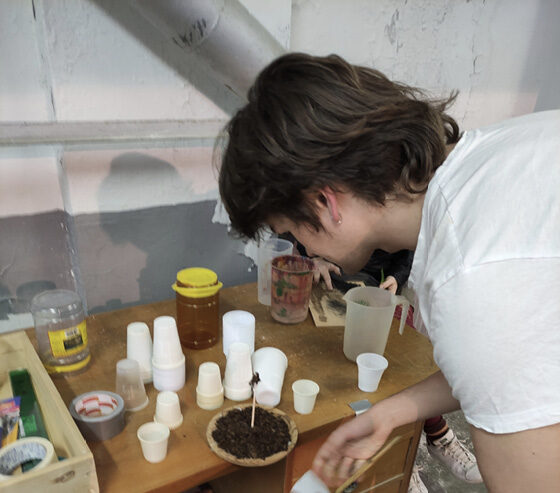
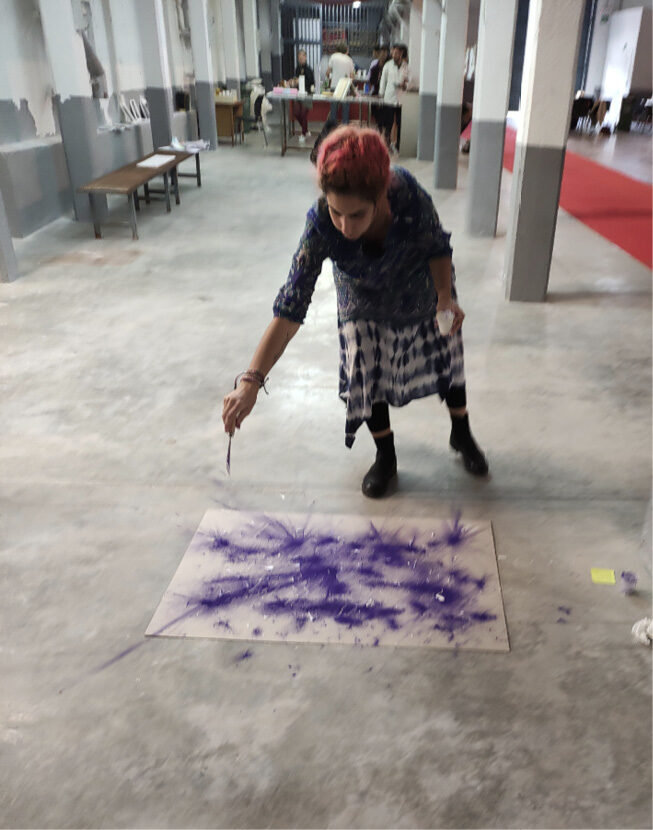
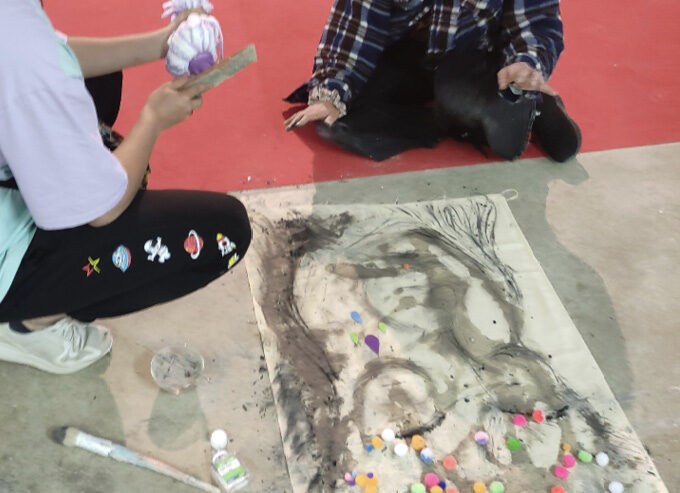
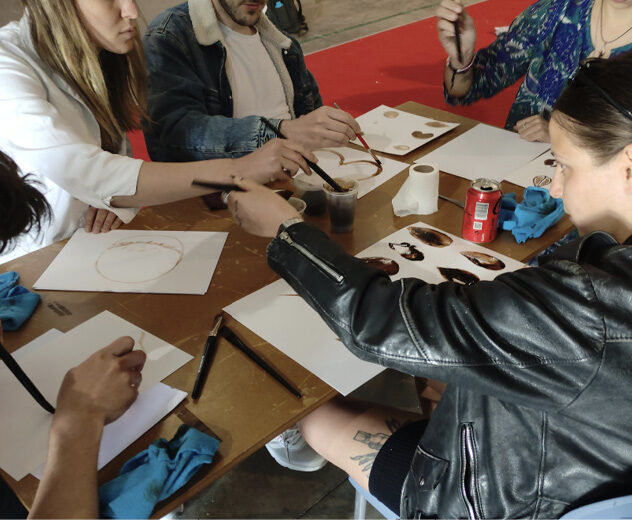
The first part of the workshop revolves around “the technique-making machine”. Here we explore the crazy and varied possibilities that materials, textures, sizes, rhythms give us; thus, we start the workshop almost “forcing” creativity.
The room will have a central table where all the elements will be, and at the other end of the room will be the machine to create techniques. The participants will bring out their challenges one by one and develop them. This is a moment of experimentation and freedom. We let everyone go at their own pace, to develop one or more experiments with the machine. After 60 minutes we display the most interesting experiments and clean up the space.
For more information about the method ( in Spanish ): http://tocar-el-arte.blogspot.com/
The activity is depending on the words are divided into the three segments as first introduction, the participants are given the materials and the information about what to do than left alone for 60 mins period to boost their creativity and think about the variations that are provided.
Later on, each participant put their product and discuss about the products that they have created. To do so, the participants are given six different lists and they are allowed to use one material/action in each segment while developing their creative ideas :
Action
- To extend
- Scratch
- Tie
- Blow
- Throw
- To turn
- Step
- Knock
- Slide
- To scrape
- To deposit
- Grate
- Splash out
- To project
- To caress
- Pierce
- Grate
- Pack in
- Rub
- To stamp
- Wet
- Grind up
- Fold
- Scratch
- Sweep
- Vaporize
Media
- Painting
- ink
- Wax
- Line
- Walnut
- Mercromine
- Charcoal
- Juice
- Tea
- Coffee
- Sand
- Flour
- Mud
- Soap
- Rice
- Breadcrumbs
- Colacao
- Salt
Utensils
- Brush
- Spatula
- Pen
- Hand
- Finger
- Ballpoint
- Straw
- Branch
- Fork
- Spoon
- Syringe
- Can
- Roll
- Cotton
- Sponge
- Foot
- Paperboard
- Toothpick
- Brush
- Rag
- Glass
- Pair of scissors
- String
- Mop
Supports
- White paper
- colored paper
- Burlap
- vegetable paper
- Paperboard
- Cloth
- Glass
- Stone
- Plaster
- Tube
- Ground
- Wall
- Wood
- Sheet
- Hand
- Desk
- Plastic
- Leather
- Tile
- Tablecloth
- Rack
Format
- Stamp
- Enormous
- Small
- DINA3
- Big
- Tiny
- DINA4
Quality
- Fat
- Gentle
- Cleansed
- Dried
- Lasted
- Small
- Rigid
- Dirty
- Fine
- rough
- Round
- Big
- Rough
- Damp
- Soft
After the finalisation of this workshop, the participants make an exhibition with their products. Than we continue with the second part of the activity “Drawing from Memory”.
Drawing from Memory
This method is based on the “Drawing on the Right Side of the Brain” book of Betty Edwards. The Drawing on the Right Side of the Brain® story begins in the late 1960s where art teacher, Betty Edwards, was puzzling over the fact that many of her students struggled to learn to draw when they were mastering new skills in other disciplines.
Another puzzle was that students, who had struggled, suddenly seemed to learn how to draw from one week to the next but could not explain why this was so.
Betty Edwards began to explore what happens when she was drawing. Her work with her students was illuminated by research published in 1968 by Roger Sperry and colleagues. Dr Edwards developed her theories into a doctoral thesis that later formed the basis of her book, The New Drawing on the Right Side of the Brain, first published in 1979. You can read about the development of her theories in this book which is still in print and has been revised and updated several times since.
After the book was published, Dr Edwards had another ‘aha’ moment. She realised that drawing is made up of just five perceptual skills and that together, to form a global skill.
What does a global skill mean? Other global skills are reading, driving, learning to ride a bicycle etc. Can you remember how difficult it was learning these skills? But now, I bet you read a newspaper, ride a bike or drive your car without even thinking about it.
Learning to draw follows the same process. Just as once you had to learn the alphabet and how a sentence was constructed before you could learn to read… with drawing, if you learn the component perceptual skills of drawing you will be able to draw a
perceived object ie. something you can see ‘out there’.
What are the Perceptual Skills of Drawing?
- The perception of edges
- The perception of spaces
- The perception of relationships
- The perception of lights and shadows
- The perception of the whole, or gestalt
The last one is a bonus as it just evolves out of learning the first four skills.
The method can be seen from here : https://www.youtube.com/watch?v=FIwvukOdNMc
Implementation Phase :
All participants are to use a sketch pad preferably A3 and a black ink pen. The idea is not to be able to erase. The facilitator will ask them, without looking at the pad, looking straight ahead or with their eyes closed, to outline the frame of their sheet gently with their hand and fist. Then with their finger. Then with their fingernail. Then ask them to cross the sheet diagonally with their finger, and then in as many diagonals as they want. The idea is that they go over the sheet of paper mentally.
Next, all participants divide into pairs and sit facing each other. The facilitator will ask them to look at their partner without embarrassment, ask them to observe the person only physically, as an inanimate object. Now for the next 10 minutes they simply draw the lines they observe, without lifting their hand from the paper and
without looking at the sheet. They simply draw the lines they see, and choose which lines to draw to join the most visible features or lines. The facilitator will talk about the thickness of the line, how to emphasize the lines that are clearly visible, and how to make the hand softer on the lines that are transitional. We play music and ask them to breathe and not to be anxious, because it is not the result that is interesting, but the observation.
Now we are going to use A5 size paper for the sketches and A3 size for the chosen sketches. We use the brush with nogalina, a glass with water and a cloth or paper to dry the brush. We show what can be done with the wet and dry brush, and what happens when bleach is added.
We ask them to make several prototypes of the concepts described below. After designing in small (6 for each concept) we choose 1 of them and take it to large format (A3).
SEED – FLOWER – MOON – WORM – SPIDER – BIRD
Once this is done we ask that with any technique, using any of the elements used during the session, they add legs, legs, heads, hair, eyes, hooves or any element to create a hybrid, mythological or invented animals.
Debriefing and evaluation
During the debriefing phase, the following guiding questions can be used :
- How did I feel without having a concrete objective?
- What is my feeling in front of an experience that I do not control?
- Do I feel rigidity with the drawing and does the drawing give me structure?
- How has the experience been through the portrait?
- Has the meditation had any impact afterwards?
- Have I compared myself with the rest? When?
- Have I felt any change in my drawing?
- Do I feel I have more drawing and illustration tools?
- Do I feel that I connect emotionally better with the properties of the drawing?
Tips for facilitators
The activity should be fluid and with a tendency to expressive and silent freedom. The times can be extended if the facilitator observes that the group takes enough time to develop the activities. One of the most important goals of the activity is concentration.
During the stage of the technique invention machine, the idea is to take time to experience the “out of control” that the technique offers. The facilitator’s role here is one of observation and note-taking: anything that arises on a technical level or of interest about any reaction of the participants.
During the continuous line exercise the facilitator will ask them to look at their partner without embarrassment, ask them to observe the person only physically, as an inanimate object. Now for the next 10 minutes they simply draw the lines they observe, without lifting their hand from the paper and without looking at the sheet. They simply draw the lines they see, and choose which lines to draw to join the most visible features or lines.
The facilitator will talk about the thickness of the line, how to emphasize the lines that are clearly visible, and how to make the hand softer on the lines that are transitional. We play music and ask them to breathe and not to be anxious, because the result is not the interesting thing, but the observation.
In the last part of the workshop there has to be a very relaxed atmosphere, in which the participants really have a meditation with the hybrid beings that they are going to create, because it is the decantation between the concentration in the drawing and the plasticity of the new techniques.
